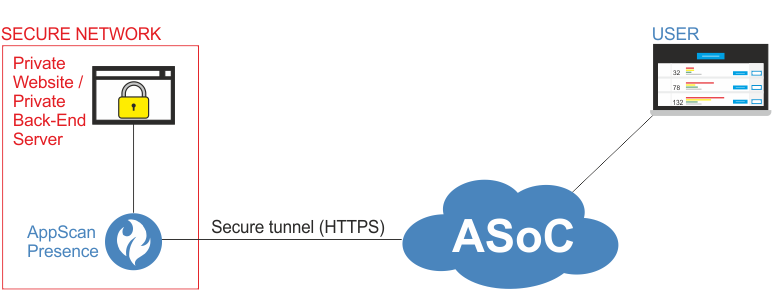
For private web applications, or for including a scan as part of your functional
testing procedure, you must create an AppScan Presence, with access
to the web application or back-end server, and to the Internet.
Proxy connections are supported.
Select Governance > Presences to view the Presences
page.
Click Create Presence.
At the Presence name screen, enter a
unique name for the AppScan Presence and
click Next.
At the Download Presence screen, select
the network's operating system (Linux™ or Windows™).
Click Download and save the compressed
file.
At the Activate Presence screen, follow
the linked instuctions for activating the AppScan Presence.
Click Done.
The new Presence is added to the list of Presences, with
status Inactive, and the Key Expiry Date.
Extract the Presence files, and save them on a computer in the
same network as your site. The computer must have access to
the site and to the Internet.